Streaming OSLC Fest 2020
OSLC Fest 2020
In 2020 the OSLC Project Governing Board decided to hold another OSLC Fest. Stockholm 2018 was the time and place for the first edition. This year, unexpected circumstances forced the event to take place virtually.
With a virtual event came new challenges. Here we illustrate some of what we faced running this year’s event.
Challenge #1: So, how to stream?
Luckily, with the surge in streaming, there are countless tutorials to get started.
Since this isn’t a tutorial, I will just go through our steps and quirks we encountered in the process.
First, we had to pick a streaming software. OBS ended up being the choice. Free, widely used, and documented with various sources for getting up to speed. Additionally, other organizers had familiarity with OBS and, with 4 time zones and an ocean between myself and the others, redundancy was a necessity.
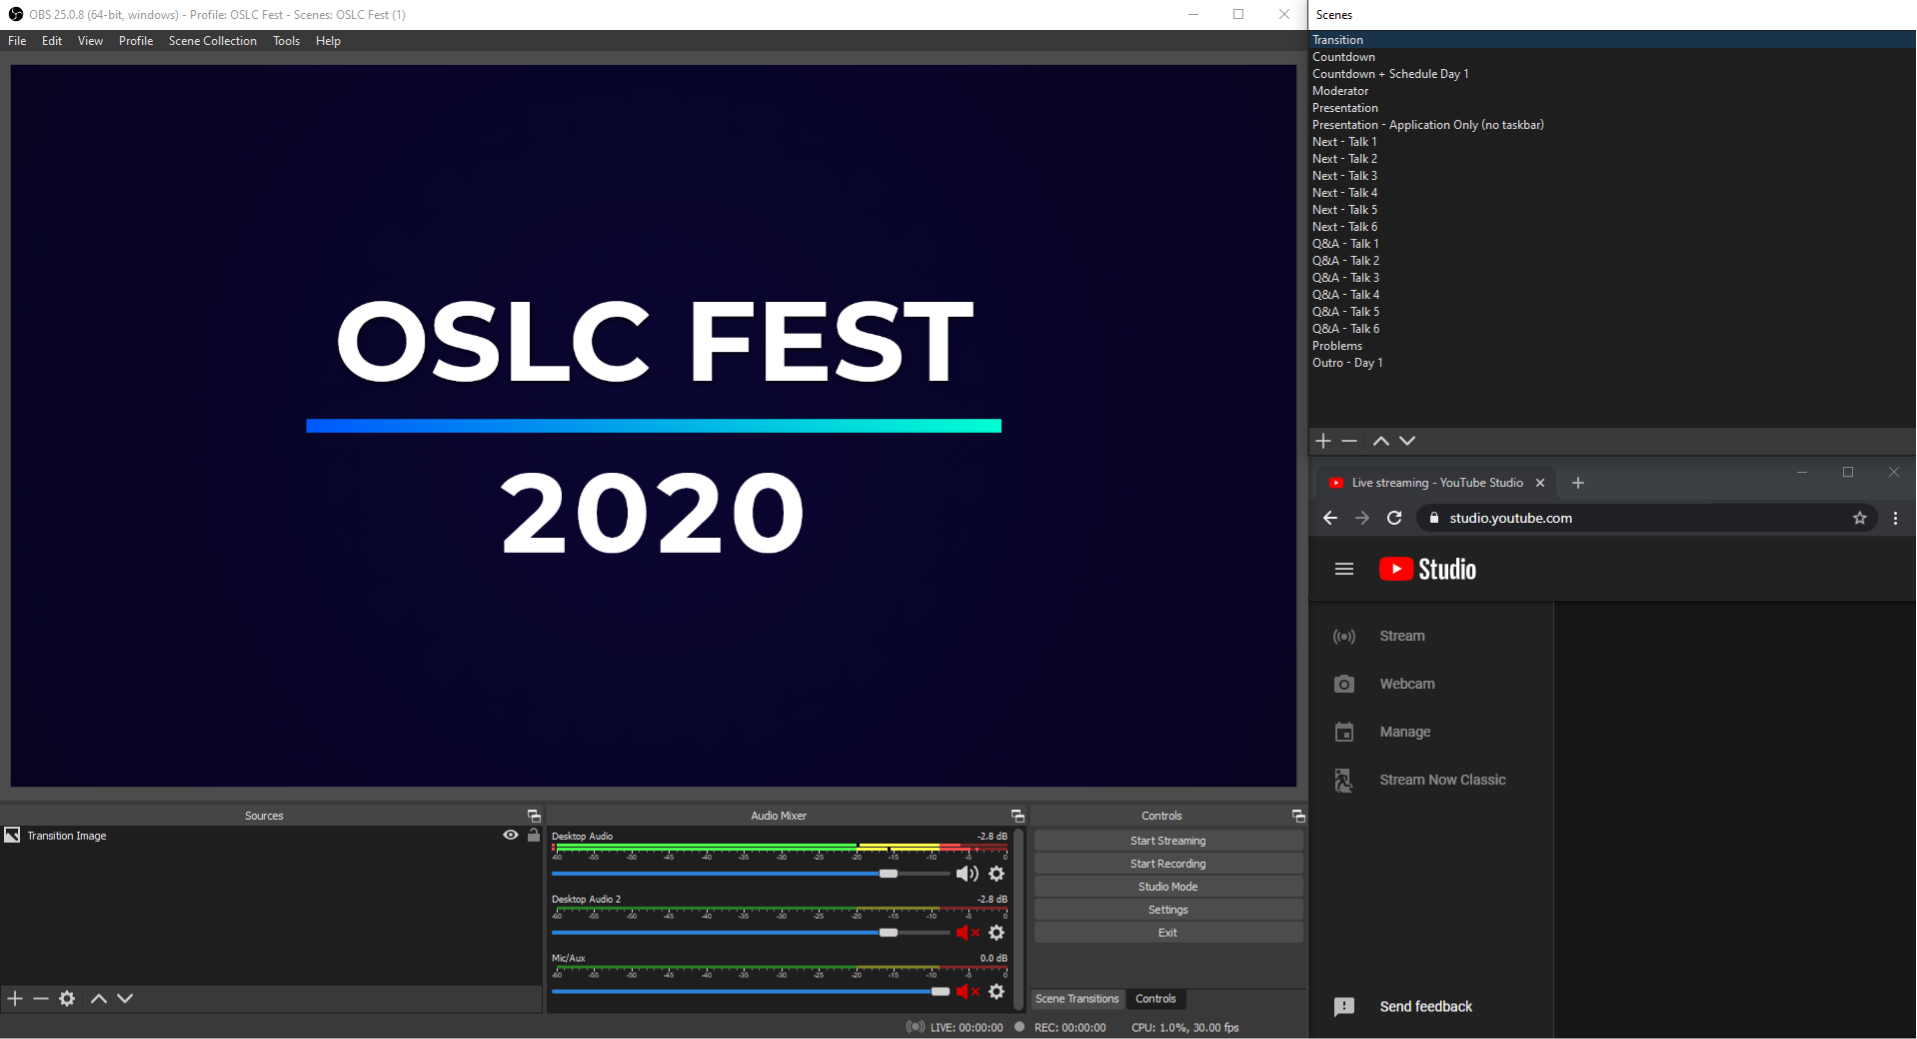
OBS on day 1
A few tutorials and a test stream later, there was much more to be done.
Challenge #2: The Details
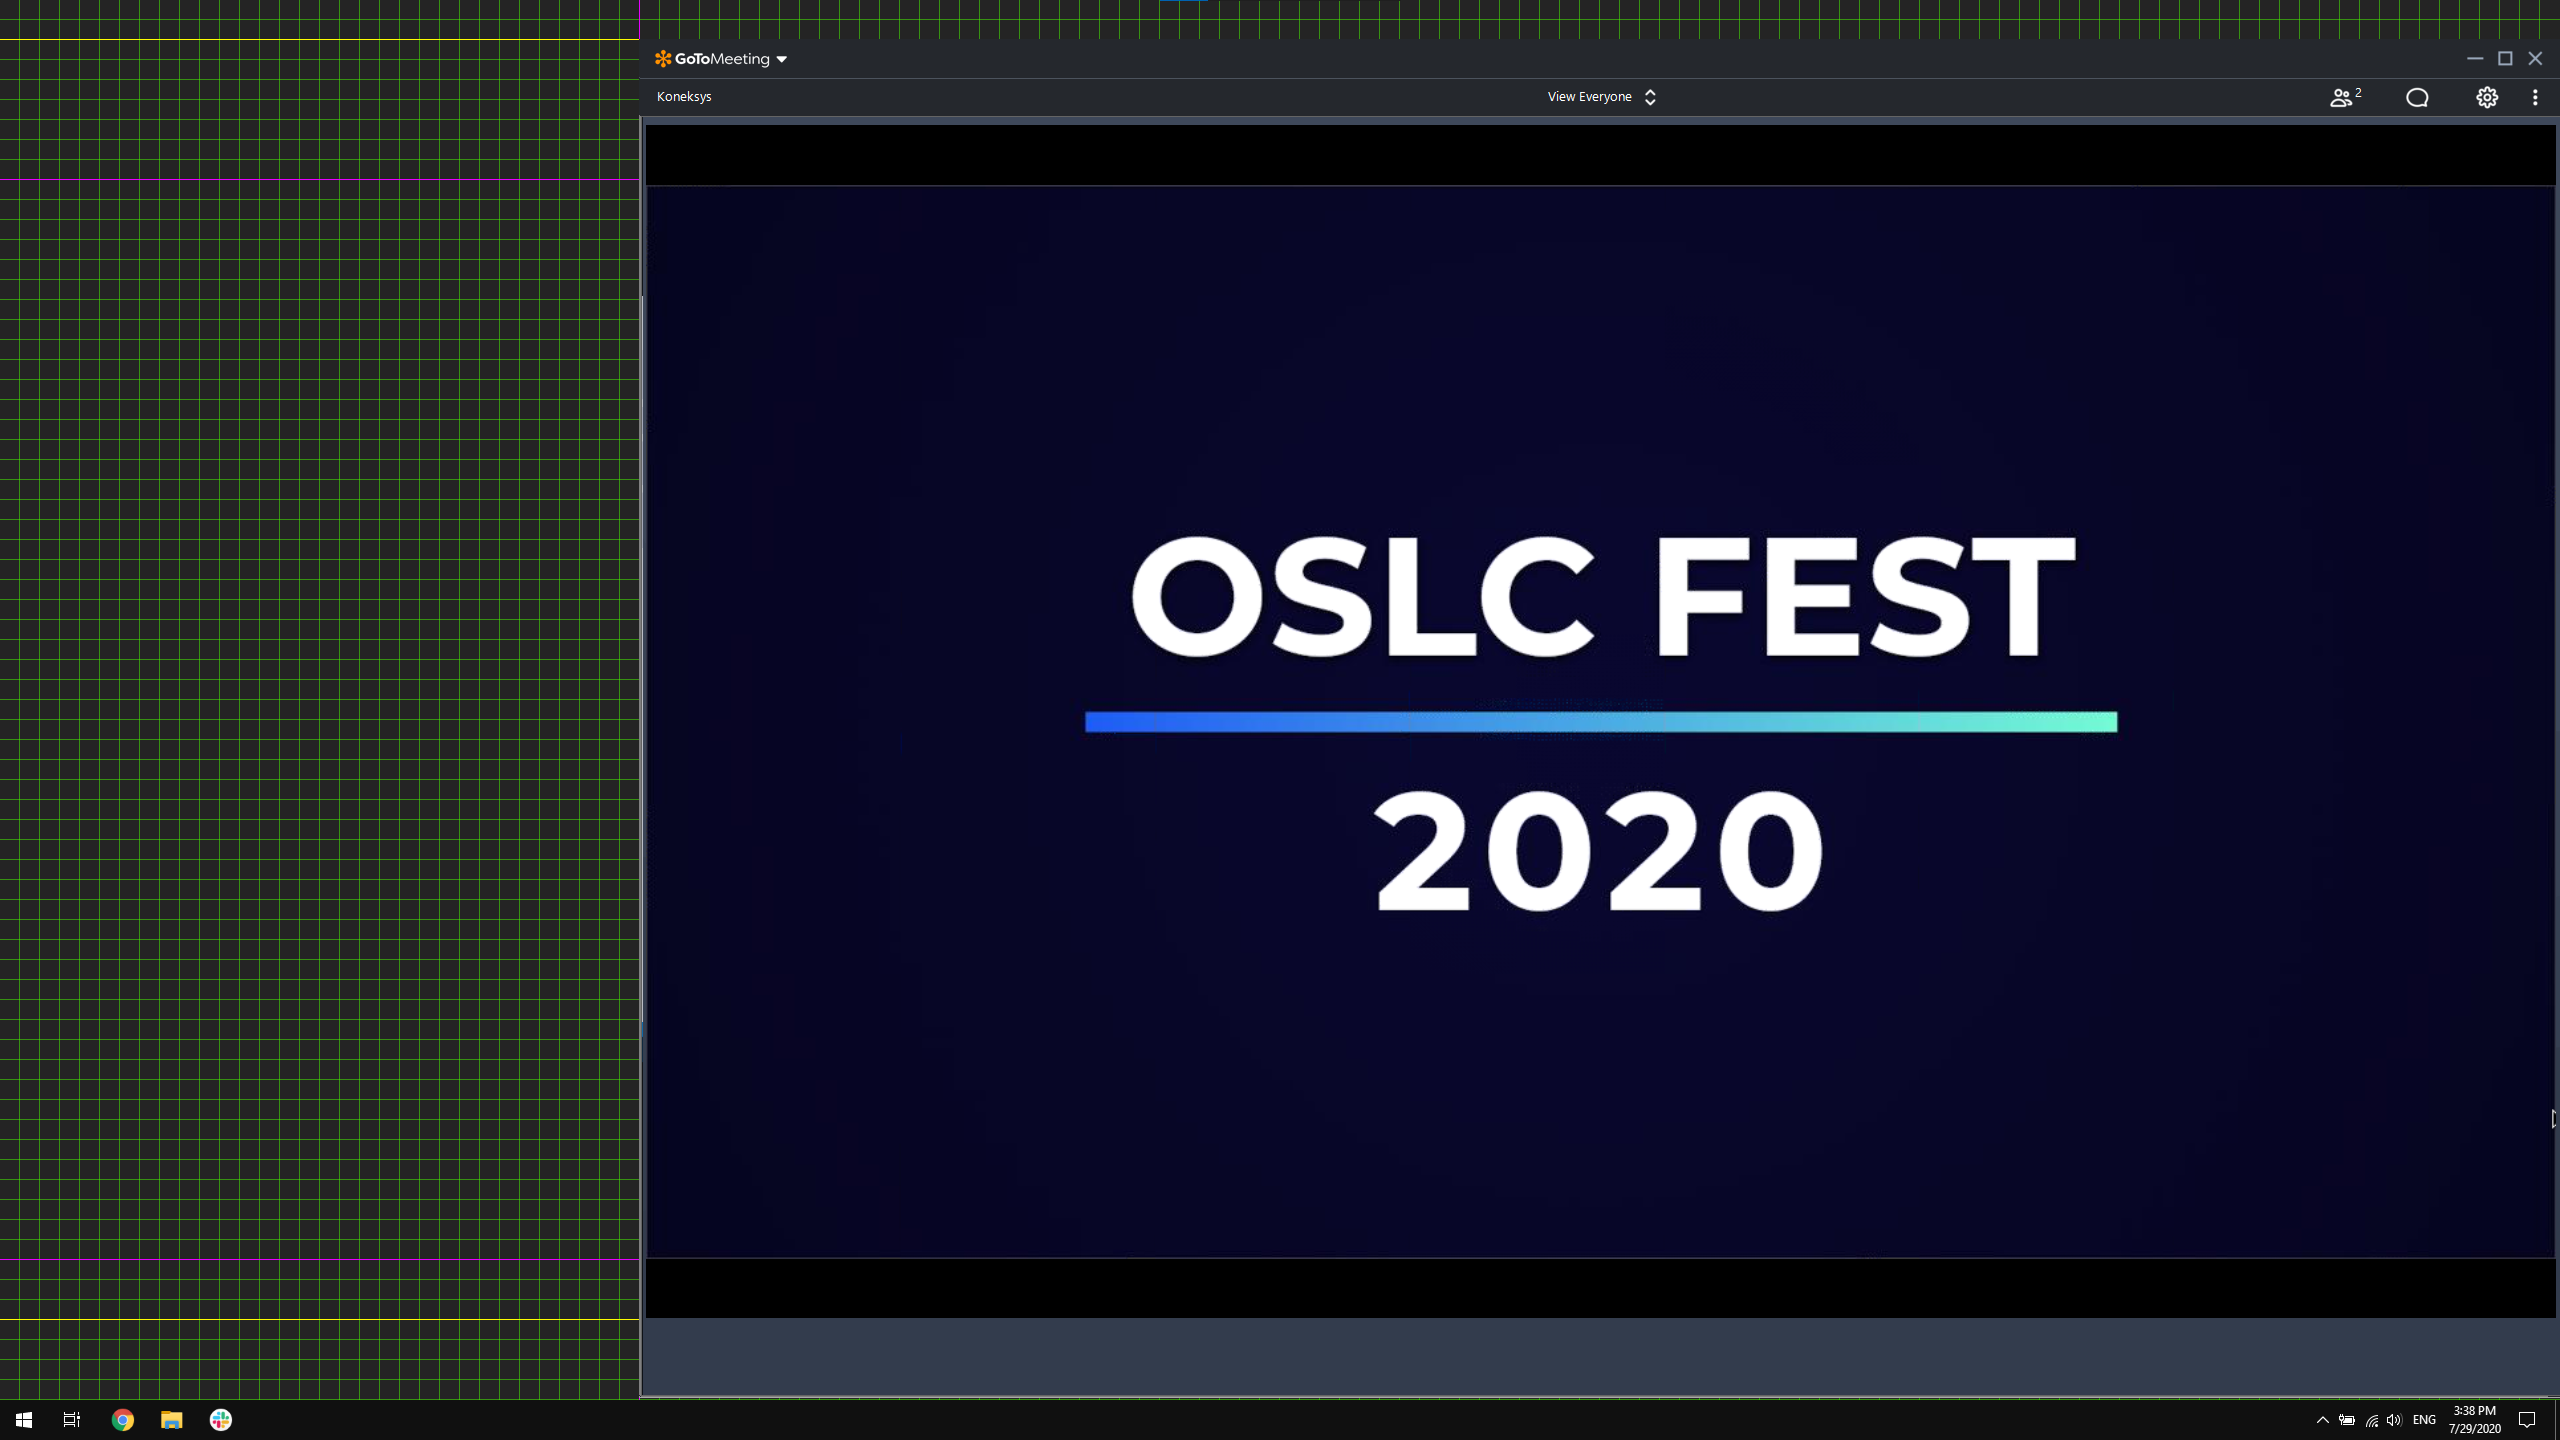
In our tests, our meeting software of choice (GoToMeeting) had some issues.
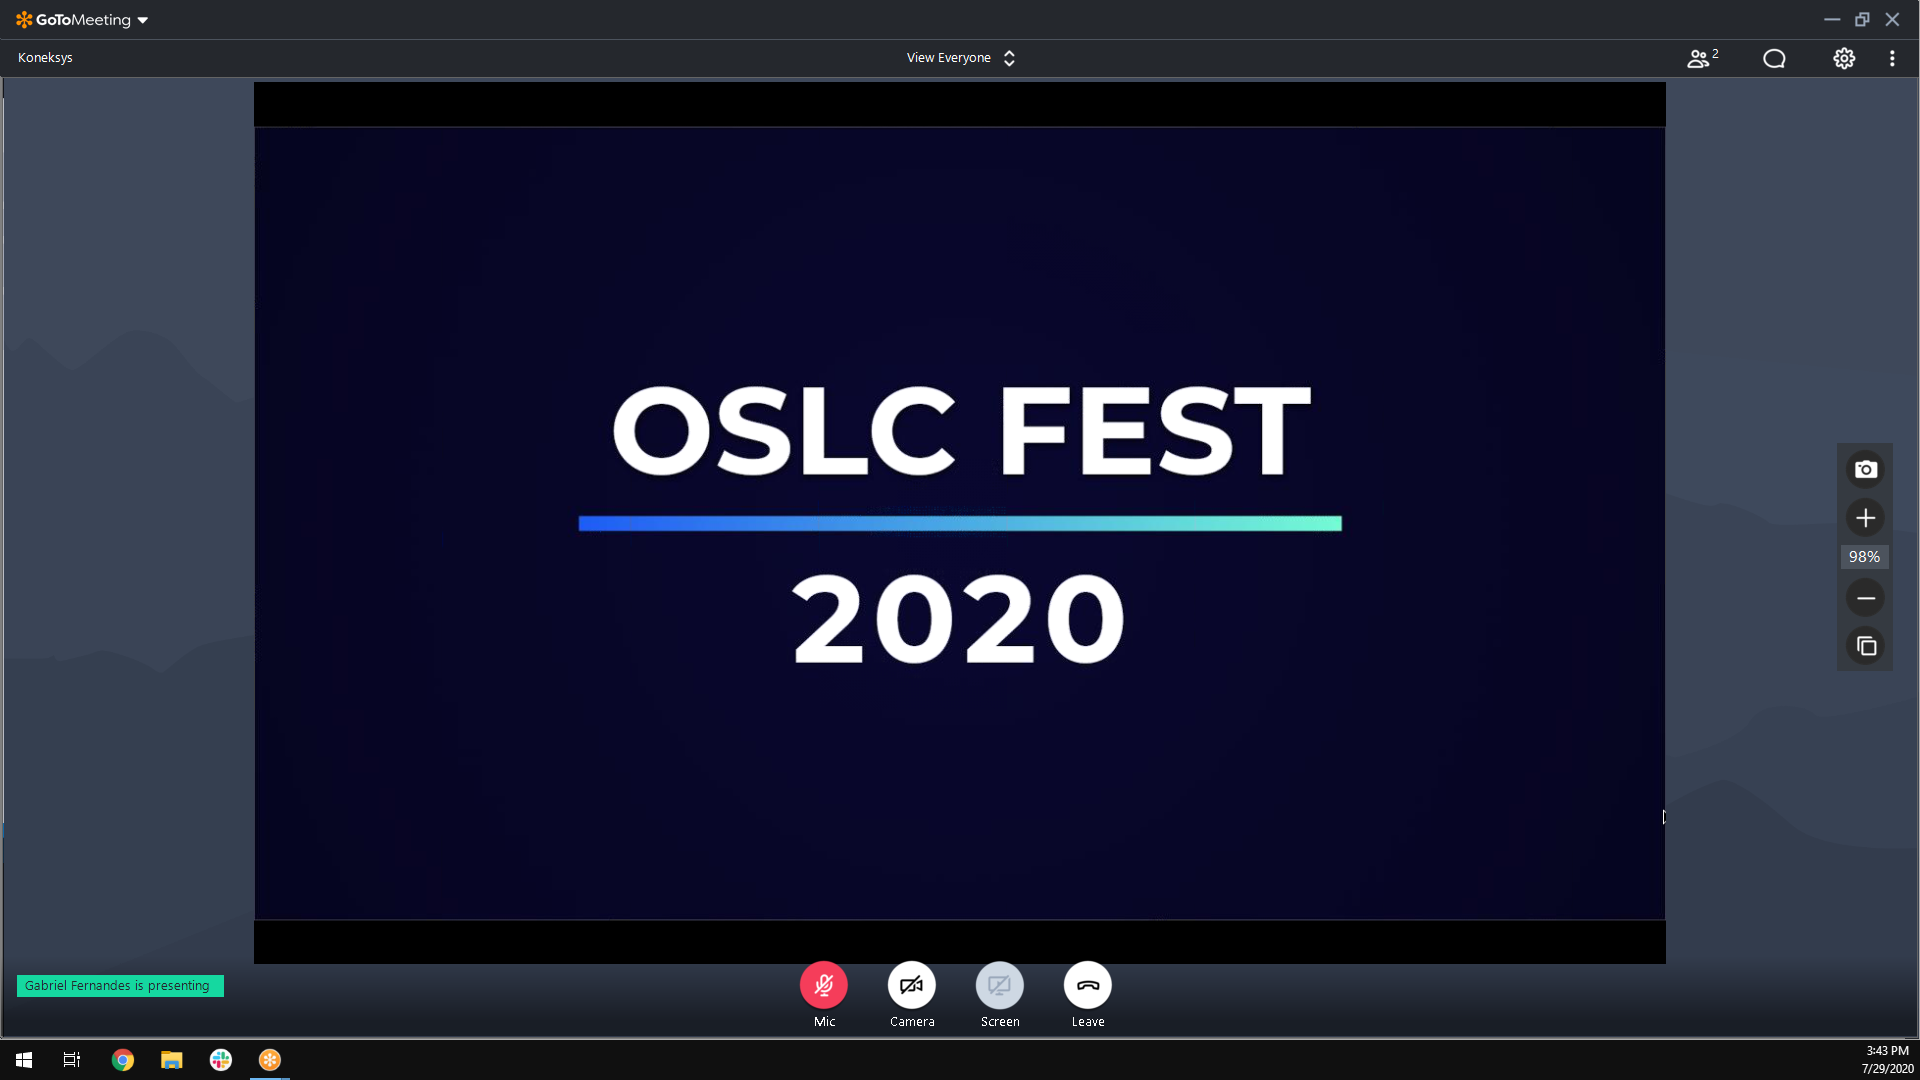
Fullscreen GoToMeeting
Usually, an application is defined as a source. However, GoToMeeting could not be targeted as a source in OBS. The alternative is to share the whole screen.
However, without adjustments, GoToMeeting menus and buttons would be visible. The simple solution would be to crop those areas, such that only the GoToMeeting presentation area would be visible, as shown below:
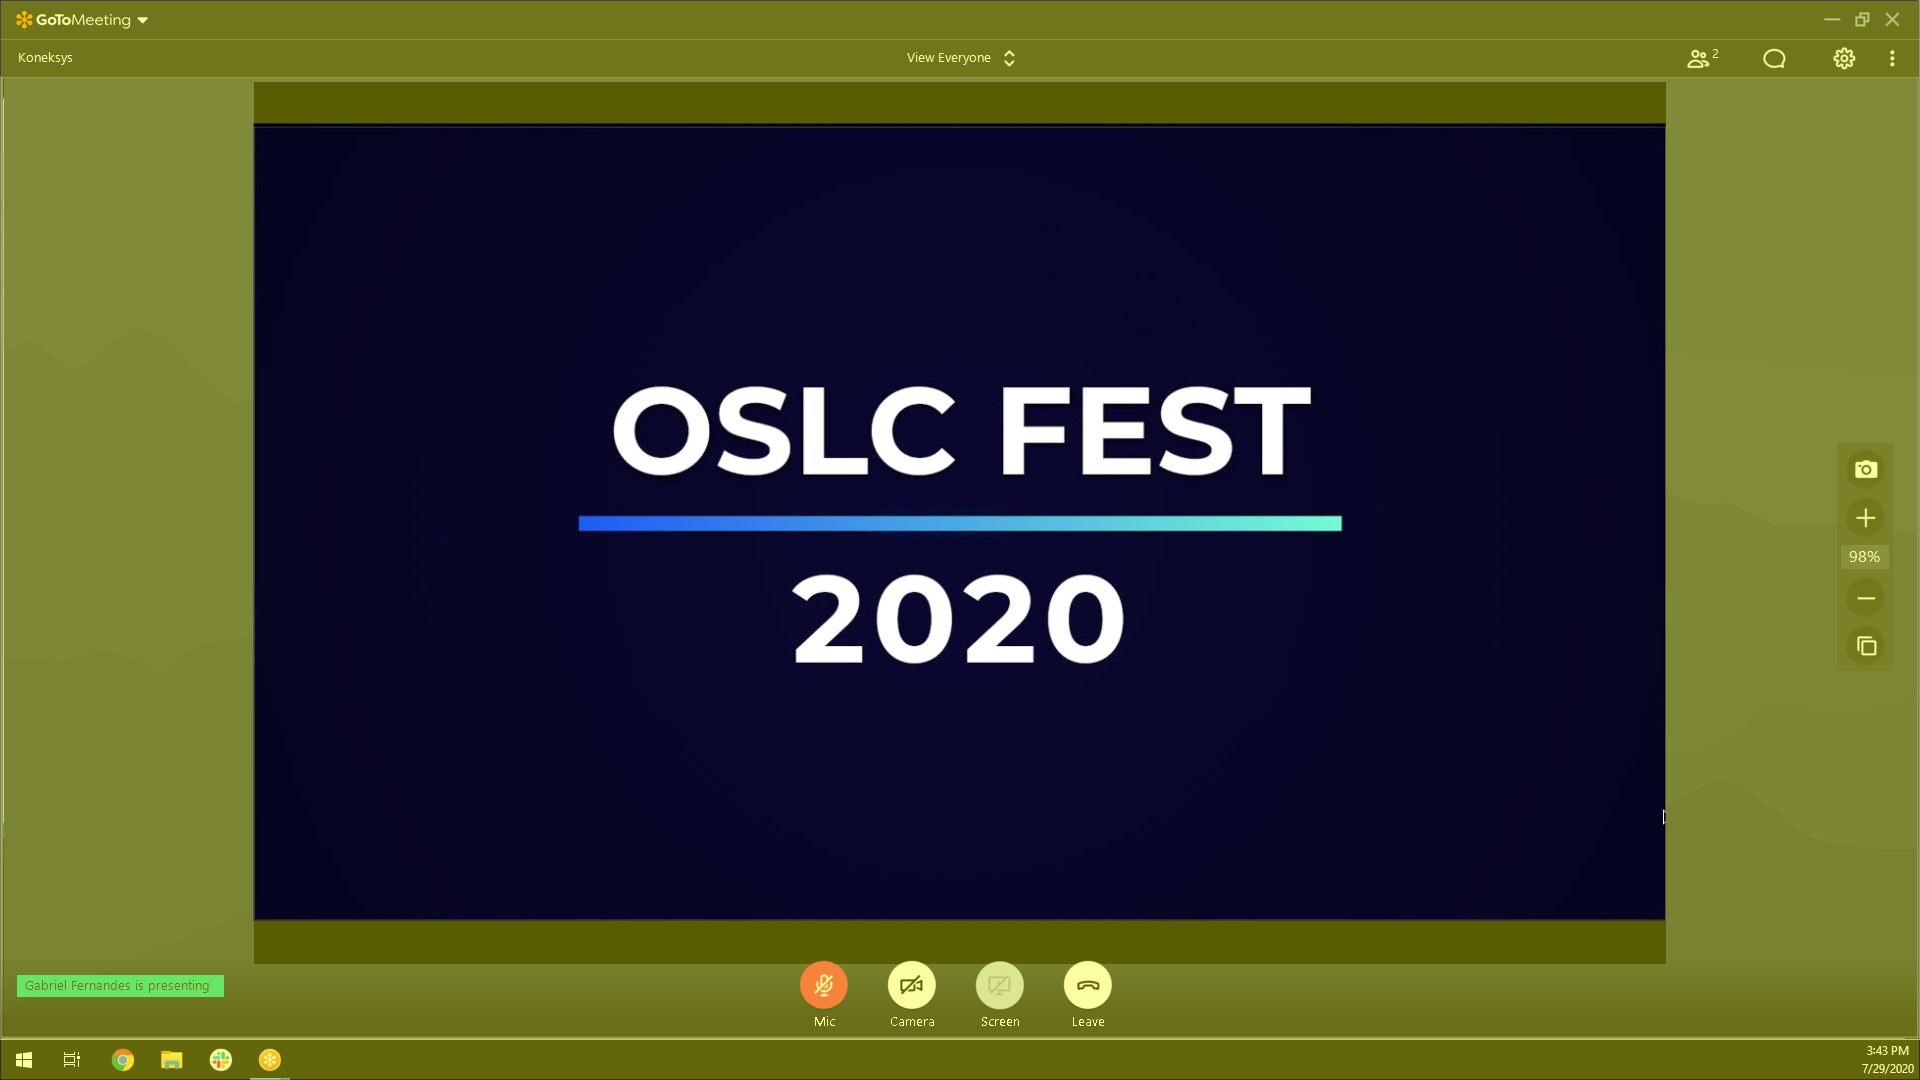
The area to be cropped
This way only the presentation would be visible, but now the image size is smaller than the full size of the screen, which is the same size as the streaming resolution (1920x1080). So now I had two options, each with a problem:
- Upscale the image to fit the resolution. This would result in the presentation filling the entire view, the problem is image quality, by scaling that view I would stretch the image, causing pixelation and overall worse sharpness to the image.
- Keep the image size. This wouldn’t result in the quality loss mentioned before, but the yellow area shown in the image above would be unused space(which would be replaced by black), thus resulting in a smaller viewing window, making it harder to read any text in the presentations and visualize details in images.
Neither of the options above are good. Now, I have a second monitor with a 2560x1440 resolution which is higher than the streaming resolution (1920x1080). Therefore I thought I could use it to prevent those problems. The simplest way would be to simply use GoToMeeting in that monitor in fullscreen. However, because the presentation area would now be bigger than the streaming resolution, I would now have to downscale the cropped area, which is a resource-intensive process that can cause buffering to the viewers (more pixels would be sent to the stream, requiring higher internet speeds to watch live).
I know right, I just couldn’t catch a break!
To solve that problem I figured I could size GoToMeeting in the bigger monitor to have the presentation area have the same resolution as the stream, such that no scaling would be required!
However, there were two challenges:
- Finding the exact size needed for GoToMeeting to have a 1920x1080 presentation area inside a 2560x1440 monitor.
- With multiple days in the event, I would need to resize GoToMeeting to the same and location size to achieve that presentation area of 1920x1080 in the second monitor on all three days of the OSLC Fest.
Thus, I put my design skills to the test and created this weird hack:
Custom Wallpaper
That is a 2560x1440 image (matching the size of my monitor) which I set as my desktop wallpaper. In the image, you may see some pink lines which make the edges of the big black rectangle. This rectangle is 1920x1080 pixels in size (which is the streaming resolution), so I used those lines as my reference to the viewing area. Then I could safely find the same spot and size every day! This is how it looked like with GoToMeeting over it:
GoToMeeting over the wallpaper
Notice that GoToMeeting is bigger than the 1920x1080 area due to the menus and buttons, that’s why I needed the pink lines as references of where the presentation area should be.
After finally solving the resolution and scaling problem, it was time for the final setup.
Challenge #3: OBS Scenes
On each day of the event, around 7 speakers participated. To make the viewing experience more enjoyable, we decided to use 1 scene to introduce the speaker and his presentation, and another for the Q&As with an overlay over webcam feeds including the speaker’s name and title, and the talk title.
This meant creating about 20 scenes, each with unique assets and for each talk. Needless to say, that was quite a bit of work.
Additionally, to avoid making any mistakes in switching between the scenes, I set up shortcuts for every talk to facilitate this process.
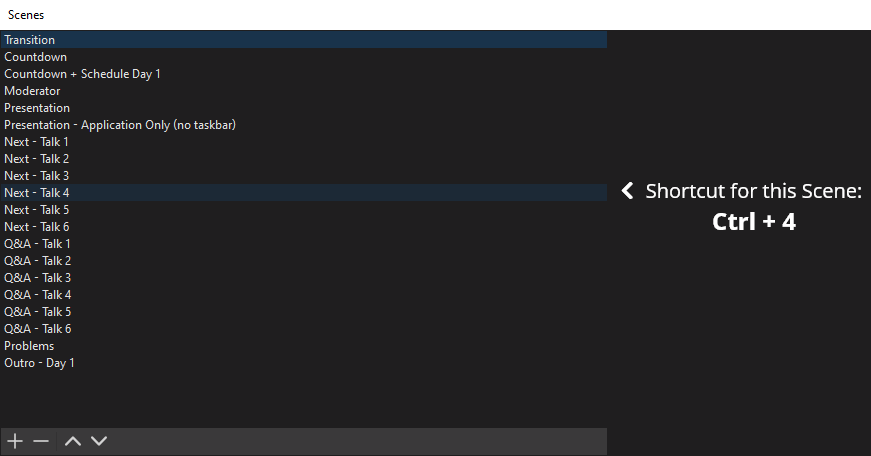
Scene setup used on day 1
In the image above, you can see the list of scenes for a given event day. The shortcuts are standardized by the “number” of the talk and a modifier for each “view”. So if I wanted the intro image for the 4th talk I hit “Ctrl + 4”. All in the name of preventing mistakes and making the job easier on the day.
Once everything was in place, it was relatively smooth from there.
Challenge #4: Ready, Set, Go!
On the day my job was to make sure the application was properly set up. That meant sizing it properly and separating the camera feed to its window (to make it simpler to switch between the screen sharing and the webcam feeds.
With everything in place and the speakers in the meeting, it was just a matter of starting the stream and switching to the right scenes at the right time!
All in all, after all said and done it wasn’t too bad.
Hopefully, this serves as a nice peek behind the curtain of streaming OSLC Fest 2020, which you can watch in full on YouTube! or head to the OSLC Fest Website for the full list of participants and links to the presentations.
Until next time,
Gabriel Fernandes